Finally got round to writing up Part 2.
So as I said in part 1, I attended DFMA's TV, Film, Theatre Hair & Makeup Course in Brighton in April. The course was for 1 month and was Monday - Friday 930 - 430, it may sound like a short amount of time to learn so much, but believe me the days are jam packed and the tutors are full of so much knowledge and pretty ace stories.
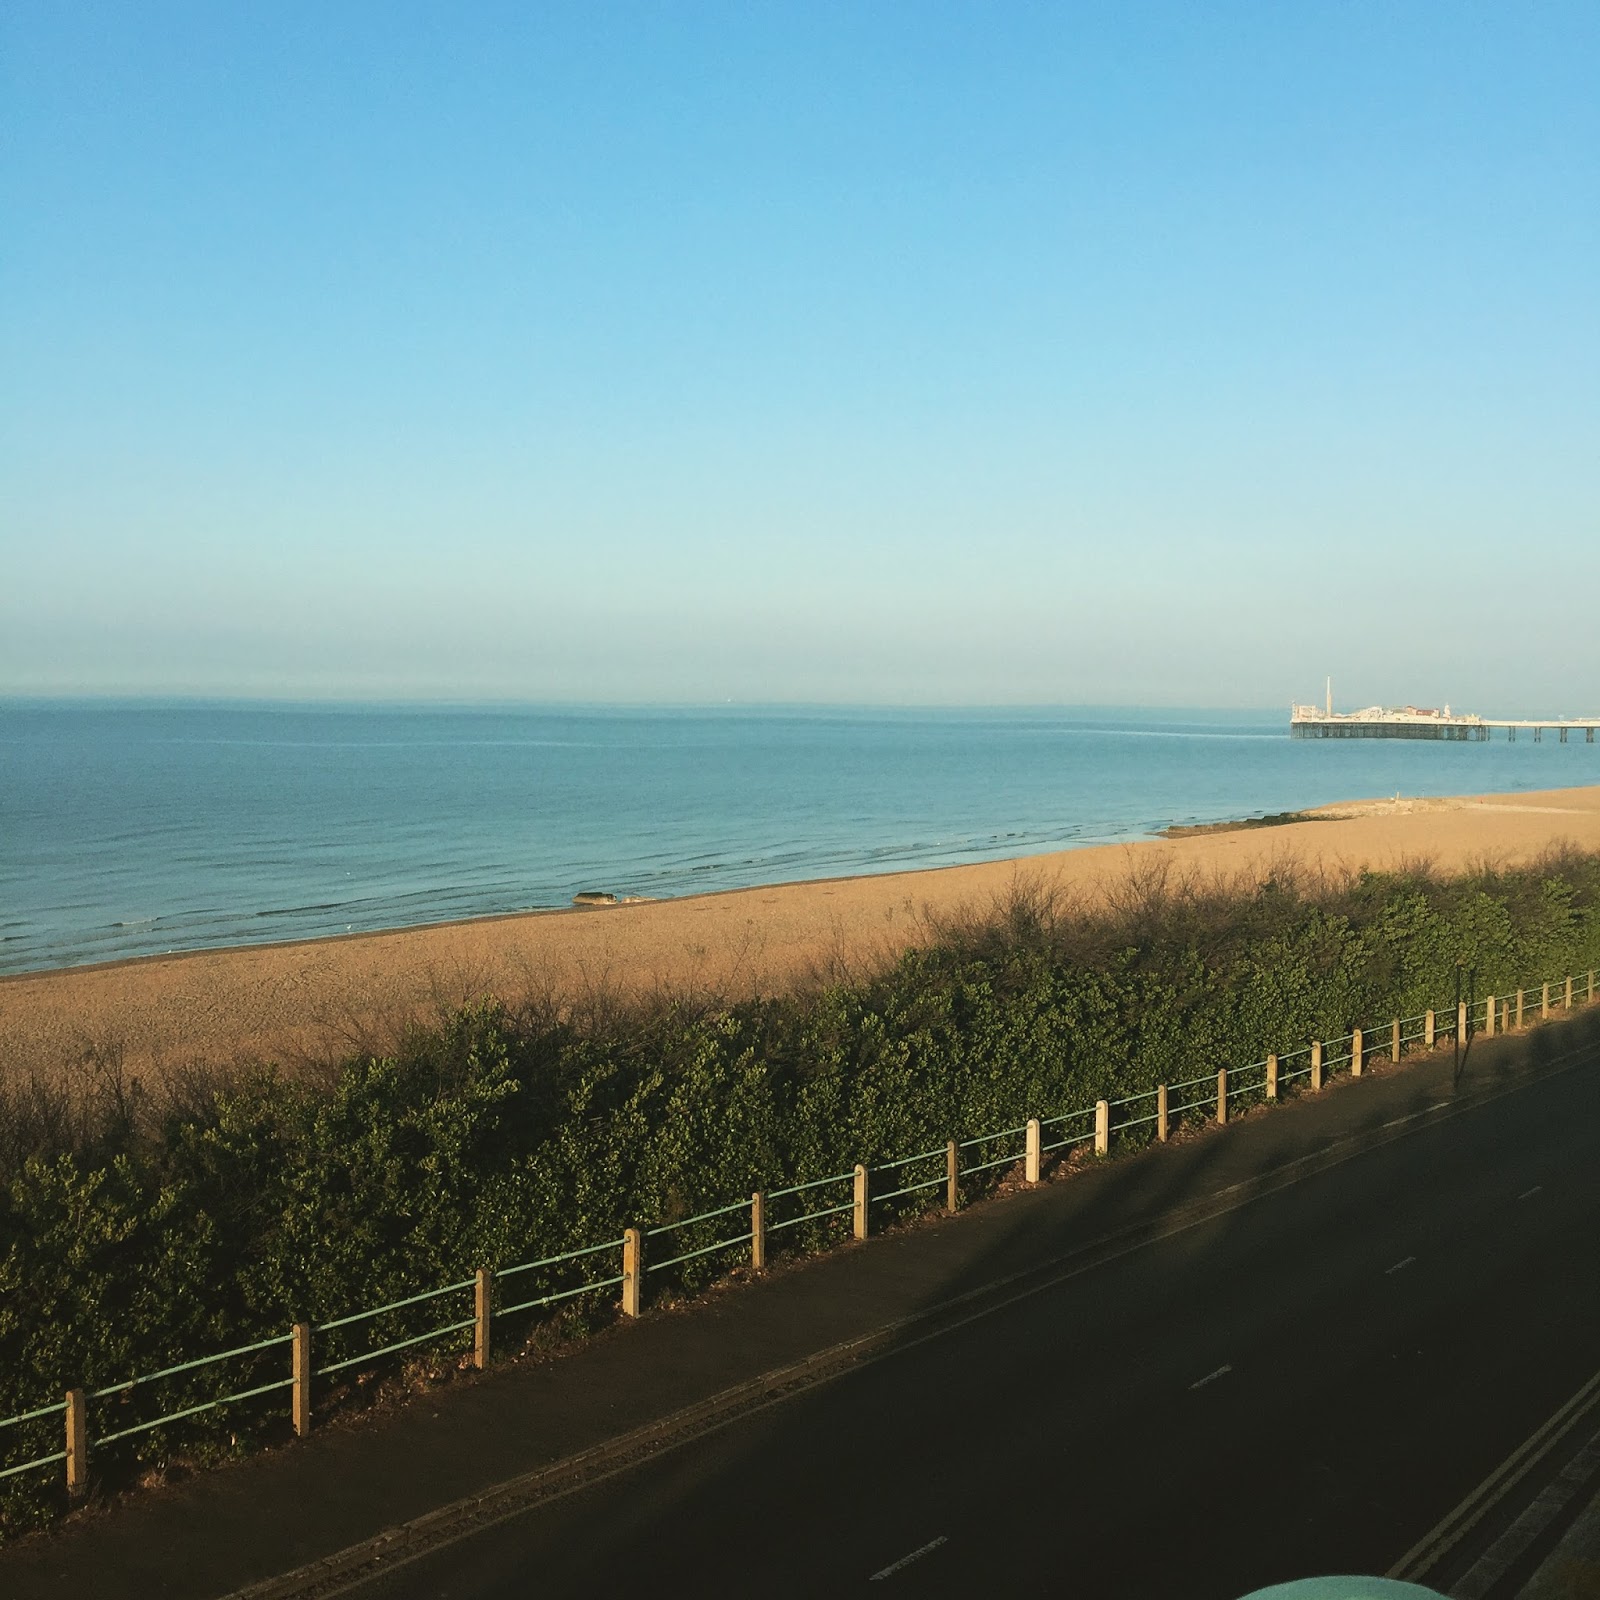
My morning walks to the train station weren't too shabby.
Day 1
Health & Safety, Face/Eye Shapes & Eyelash Application with Monica
Literally the most nerve-racking day ever, I think the first day of anything you do whether it be starting a new job or a course or driving lessons, is always going to be bloody scary.
For me I always wonder whether everyone will like me or if I'm going to have to sit in the loo and eat my lunch (It hasn't happened yet, thank god) Anyway I arrived at Stanmer house super early as usual, and took a seat on the brown couches (as the welcome email told us too) and waited for everyone else to start arriving. They all looked as nervous as I did thankfully, but looking back on it we shouldn't have been nervous at all, we're there to learn the same thing and we obviously have the same interests so why shouldn't we have gotten on?
Anyway we all found our voices eventually and were chatting until Tori all called us up the room!
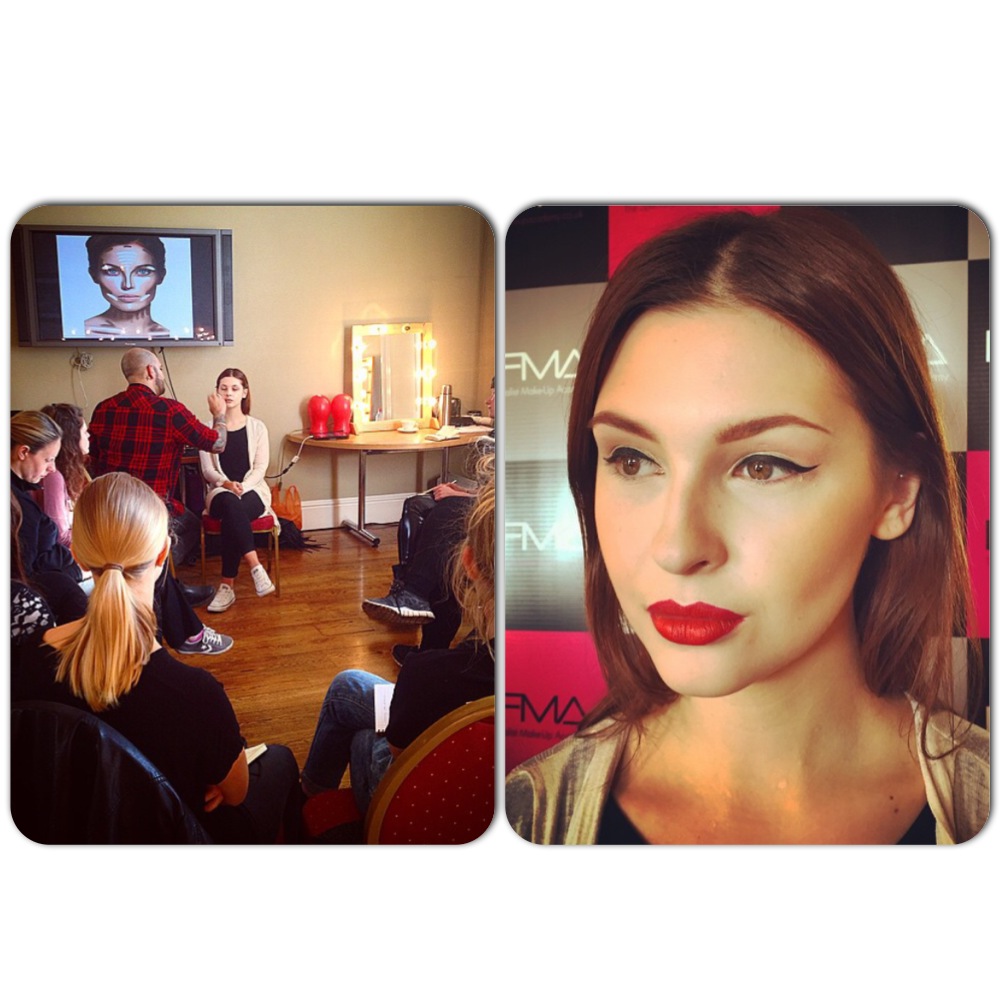
After quick introductions and a chat about what we'd expect, we're all handed out our itinerary for the month and introduced to our tutor of the day Monica!
Monica was going to teach us Health & Safety, Face & Eye Shapes, Skin Types & Tones and Eyelash Application.
But, first things first a quick look at our kit, we were all pretty excited about this.
In the kit we had a selection of brushes, 4 basic shades of MAC foundation, MAC lip liners, eye pencils, mascara & powder, a selection of Sleek eye shadow & lip palettes and some key SPFX products! We also got a hair kit, which included a hair dryer, curling tongs, hair brushes & combs, scissors & clips (not pictured)
Then we had a little break just to let things sink in, we were all pretty full of info already and we hadn't even got started.
After the break we got to work learning the health and safety tips (pretty standard stuff)
Next ,what brushes are used for what, again pretty easy then face & eye shapes, skin tones/types and eyelash application, which then only meant, play time.
Finally being able to get our hands on the kit and paint each others faces!
Products used: MAC Foundation, Sleek Contour & Blush palette in light 373, Sleek Eye shadow palette: Au Natural 601 - Nougat, Sleek ink pot gel liner, MAC Zoom lash mascara, Sleek Lip palette, using a mix of Dancer & Frappucino. (it helps when your model is already gorge!)
Day 2
Smokey Eyes with AJ
Day 2 is far less scary than day 1, getting the whole meet & greets out of the way we're all already feeling more comfortable, plus you have to turn up everyday without makeup so we're all seeing each other when we feel gross! We all turned up a little early too so we can have brekkie & coffee together which was nice!
Anyway, today was all about smokey eyes, (I mean who doesn't love a smokey eye) AJ quickly got us started on learning eye shapes again and how different eyes need a different smokiness. Next he moves onto doing a demo so we can see the pro at work! AJ also spoke to us about how he got started in the industry and gave us little tips and tricks throughout the day which is pretty invaluable knowledge.
AJ's demo on Nech
I worked on Ashleigh today, literally loved doing this look.
Products Used: MAC Foundation, Concealer from Dermacolour palette, Sleek Contour Palette, Eye shadow from the Sleek Garden of Eden palette - Paradise on Earth, Eve's Kiss & Noir, MAC Zoom Lash Mascara, MAC Kohl pencil in Smoulder & lip colour was a mix of Frappuccino, Crème Brule & Dancer from the Sleek lip palettes.
Day 3
Contour & Highlighting with AJ
Back with AJ again today who's teaching us the art of contouring & highlighting for all skin types & tones also tricks on improving the texture of complexion for smoothing out severe acne. We also touched on face shapes again as it's pretty key for contouring!
I was actually the model for AJ's demo so here's a little look at his work!
I worked on Steff for this look.
Day 4
Hair with Lauren
Haircutting day, now fortunately for me I have done a little bit of hairdressing so it did all come back to me. We were learning the basics, so a one length cut and different types of blow drying, then later on it was how to do a Velcro brick set.
I know what you're thinking, but no we didn't have to hack at each others hair, a block head was provided as part of our hair kit.
Lauren was our tutor for this and at the time she was working on Matilda the Musical as part of the wig team, so she was full of amazing stories!
Those rollers were massive, honestly if you want full hair, buy those bad boys!
Day 5
Continuity / Dishevelled Makeup SPFX with Jane
This is the day we'd all been looking forward too, I love making people look pretty and feel amazing don't get me wrong but there's also a part of me that loves the gore, and making people look gross, or dead...
First on the agenda was a quick chat about the world of makeup for TV / Film, and how things work on set, a huge part is continuity. Now I don't know about you but I'm a stickler for pointing about continuity whilst watching TV shows or movies, I just cant help it, if I see that she had a cut lip in one scene and then nothing in the next I'll be the one to point it out.
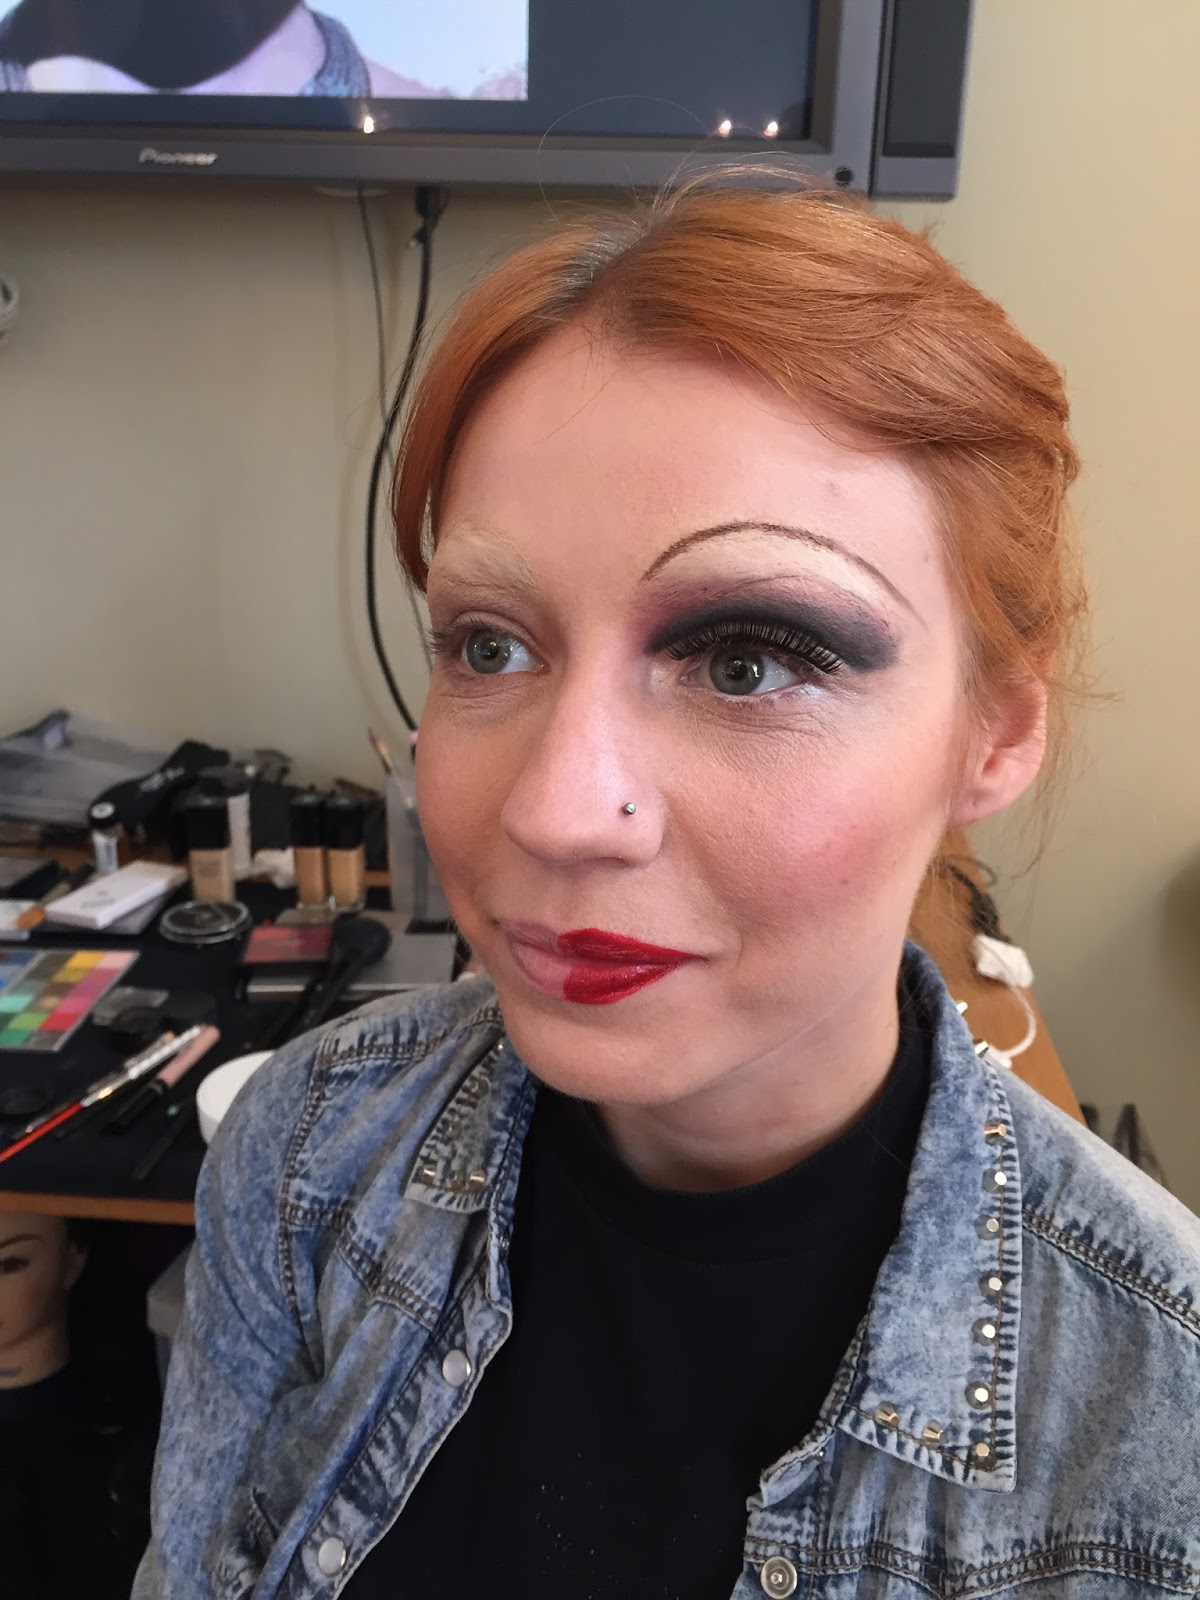
So Jane gave us a scenario, in this case Hazel (character) a 16yr old was going on a night out - for this look she needed to look like a 16yr old trying to make herself appear older.
Here I just used foundation, a little blush, pink sparkly eyeshadow, gel liner, mascara and lippy! (All from my kit again)
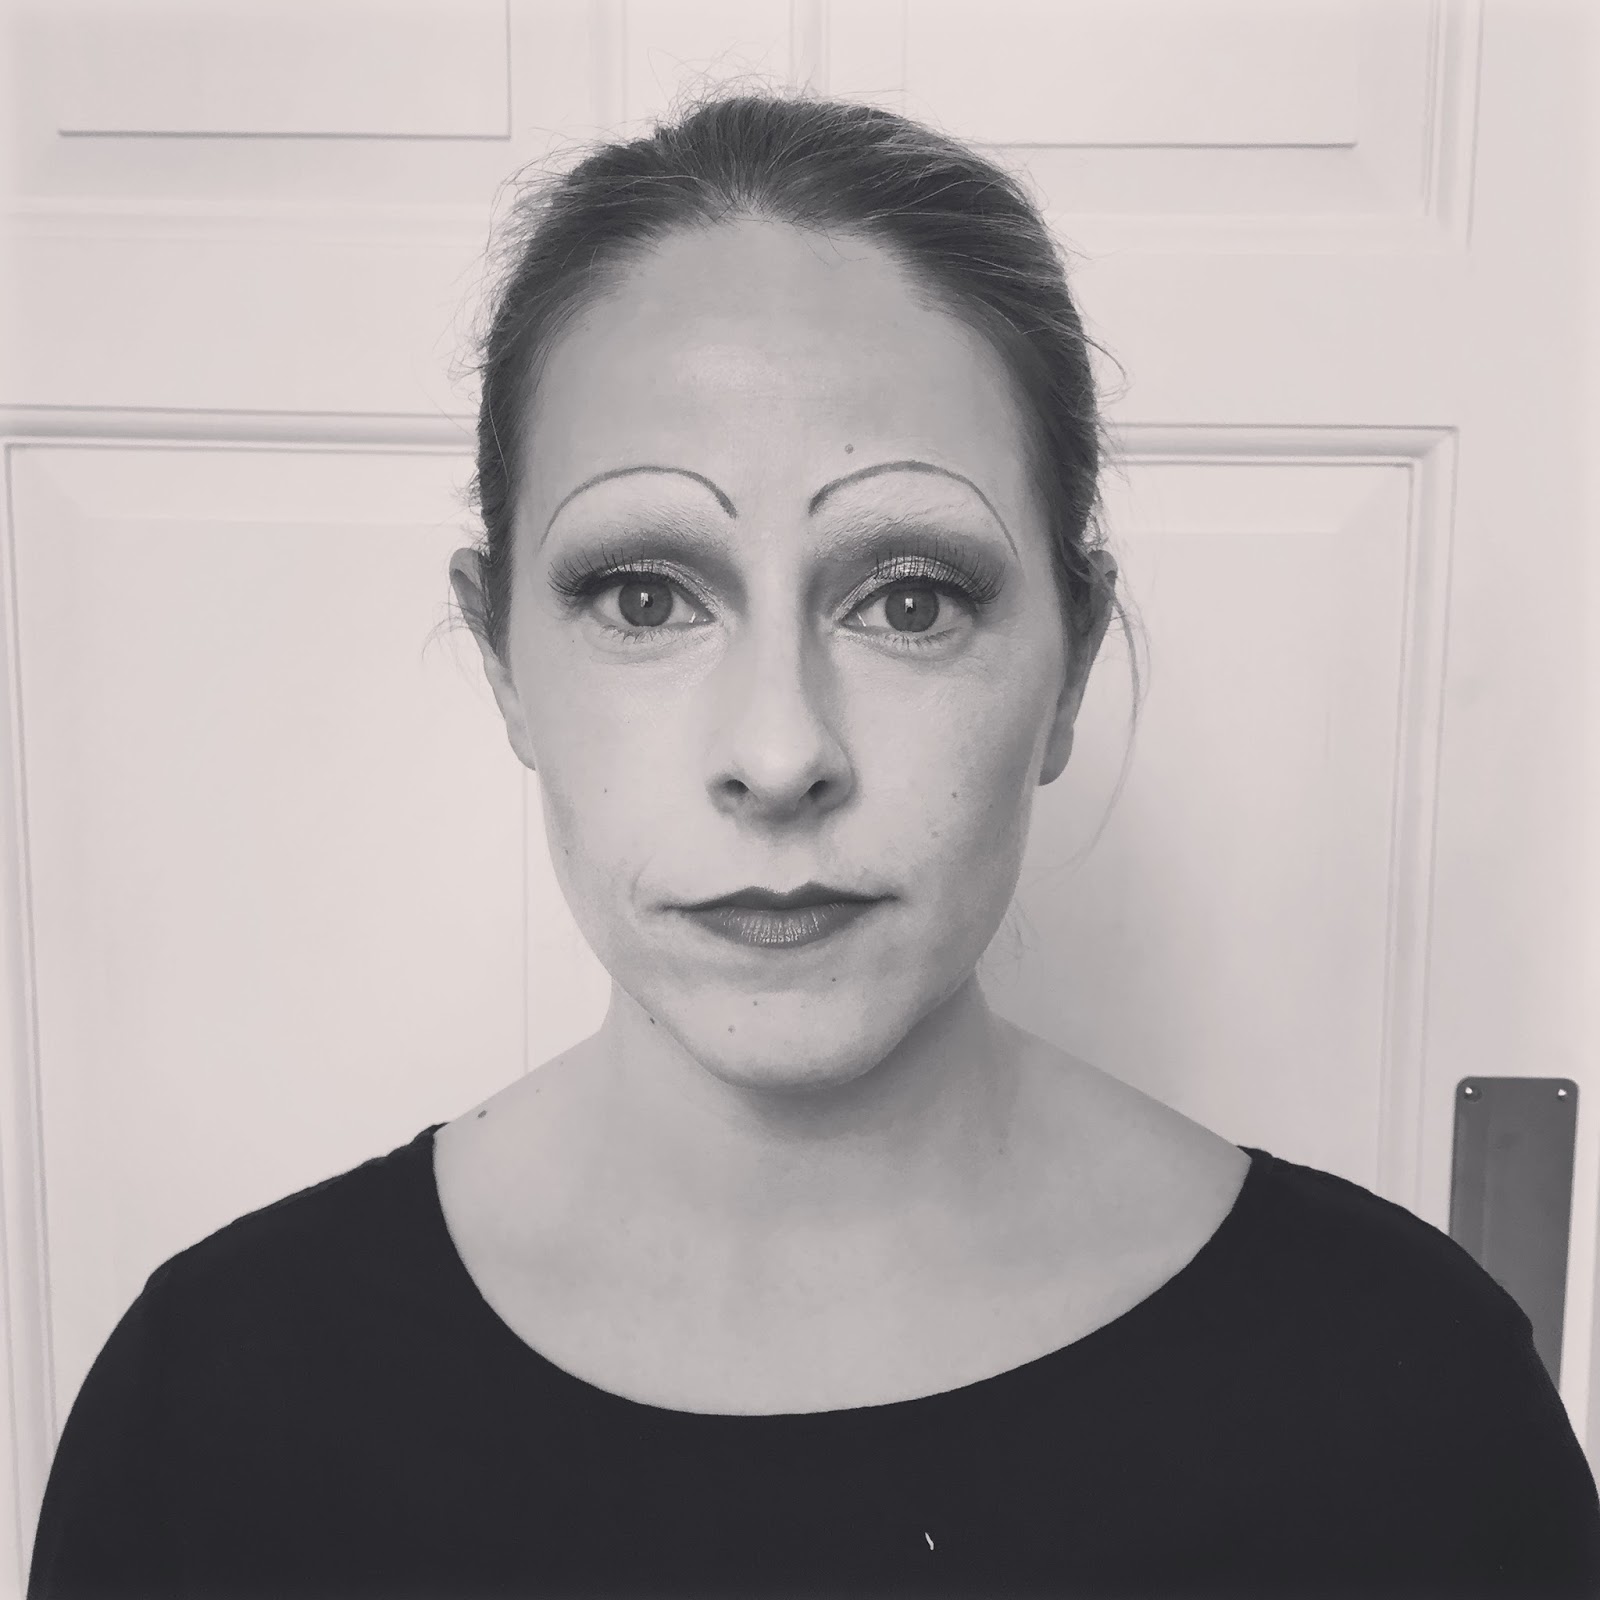
After the night out, on her way home Hazel walks down an alley (as you do) and gets attacked, so now she needs to look dishevelled, pale with a few cuts.
For the dishevelling, I removed the base makeup (make the skin tone uneven a little more realistic), smudged the eyeliner, Makeup International bruise simulation in red stippling around the eyes, cheeks for a flushed effect. I also used a tear stick (if you've never used one of these, it's odd, it's like rubbing vapour rub under your eye, but it helps create the watery eye) And for the bloody nose I used Maekup Wound Filler, just around the edge of the nostril, and Fake blood and just poured a small amount of that from the nostril and just let it drop as it naturally would.
Day 6
1950s Makeup & Dressing out hair with Abi
So I don't actually have any notes on this day as I think it was a bit of a weird day, i was working as part of a 3 and didn't have enough time to do the makeup & hair on my model so only have what the hair looked like in rollers!
Day 7
Dead Makeup with Jane
Again this was one of the most anticipated days, Jane was going to teach us how to make our client look sick and then dead.
Products Used: Foundation a couple of shades lighter than their skintone, nothing around the eyes, no powder to create a sweaty/feverish look, darkness around the eyes, took colour out of the lips using foundation, and I stippled glycerine onto the temples, cheeks and hair line to look like beads of sweat.
Next was Dead makeup - once livor mortis has set in, if you've never heard of livor mortis it's basically the settling of the blood in the lower part of the body. (If you're still unsure give it a Google, Wikipedia has a good page on it).
I mainly used the Kryolan Supracolour Palette to create this look, using white heavily all over the face/neck, translucent powder all over, I mixed some blues and purples together to create the veins, purple bruise gel around the eyes, nose corner of the mouth, and then mottling all over the skin, then all around the hair line to really highlight the lividity.
Day 8
Bald Caps with Jane
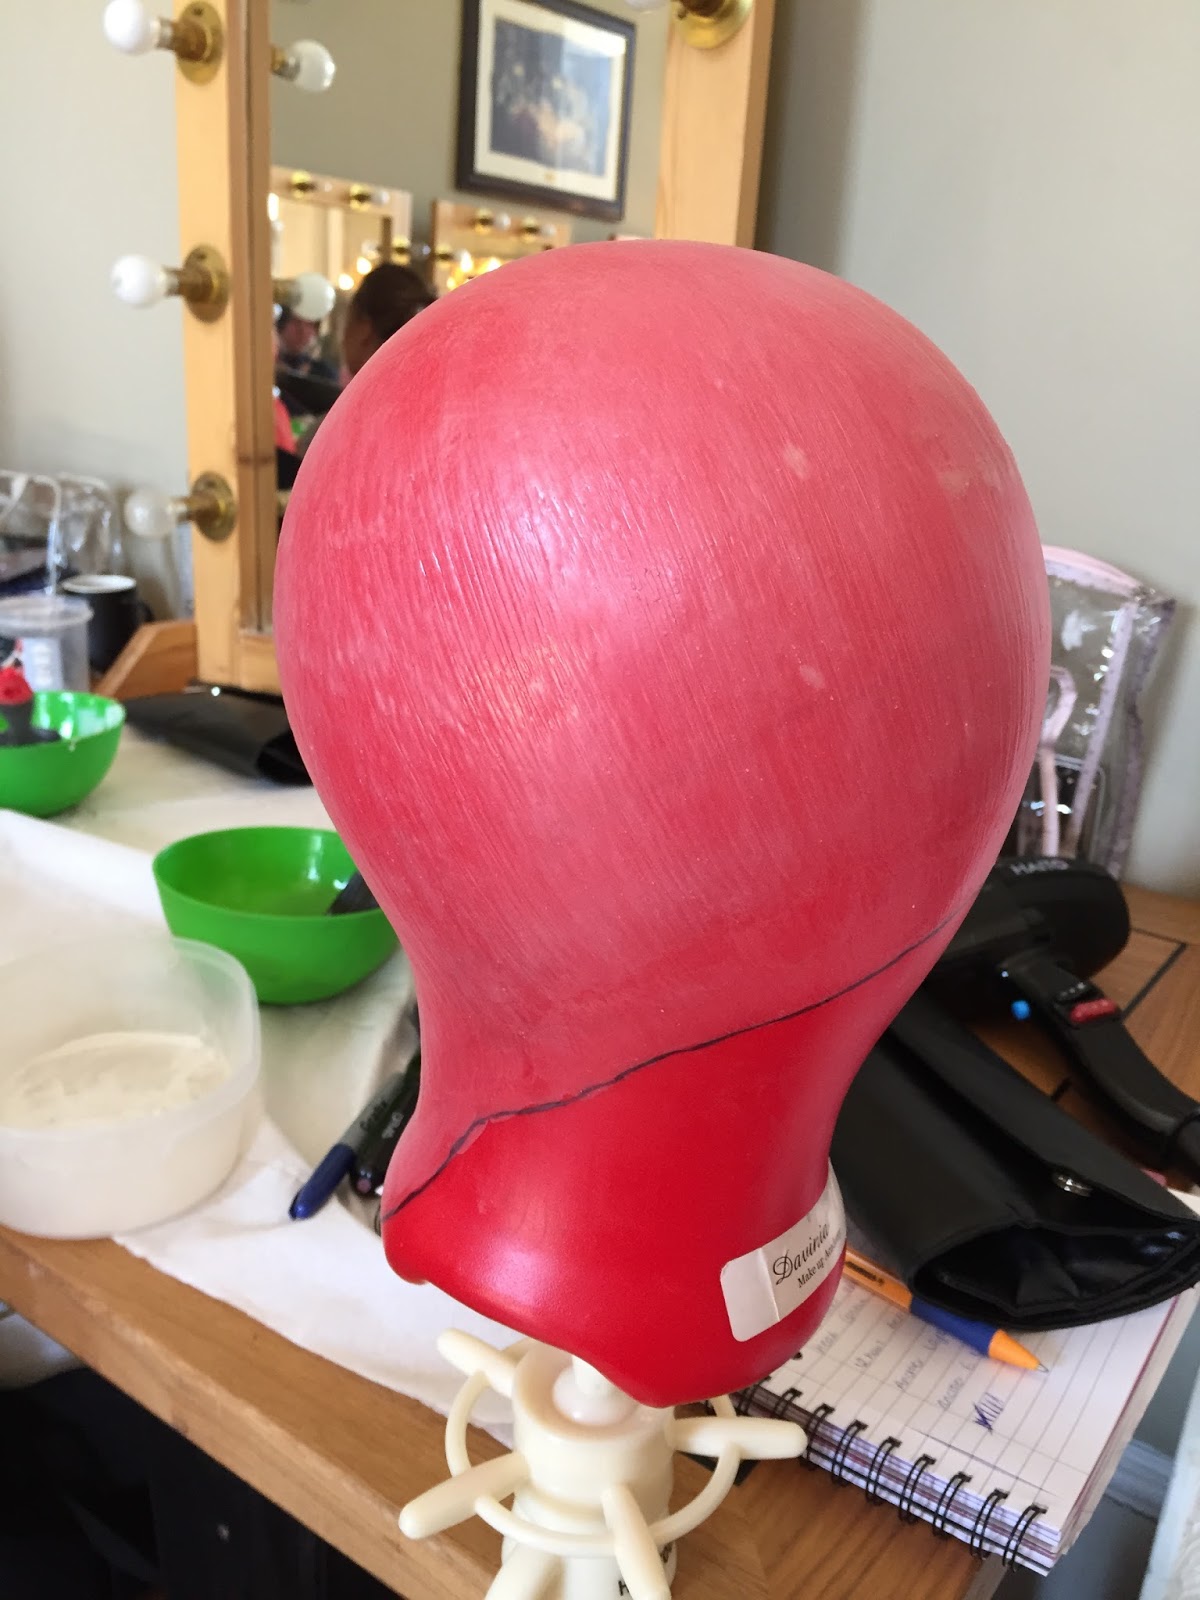
Today's lesson was part 1 of making bald caps from scratch, we also started knotting a moustache.
So for making a bald cap from scratch we got into pairs and measured each others head shapes, so from ear to ear and forehead to nape, we then measured it out onto the red head mould and drew an outline. We then made the mixture and started painting, 8 layers are needed to make the perfect cap. They then needed to be left for 12hrs to dry (hence this being in 2 parts) Whilst we were making the caps we were all told to think of a design to incorporate onto the caps later in the week.
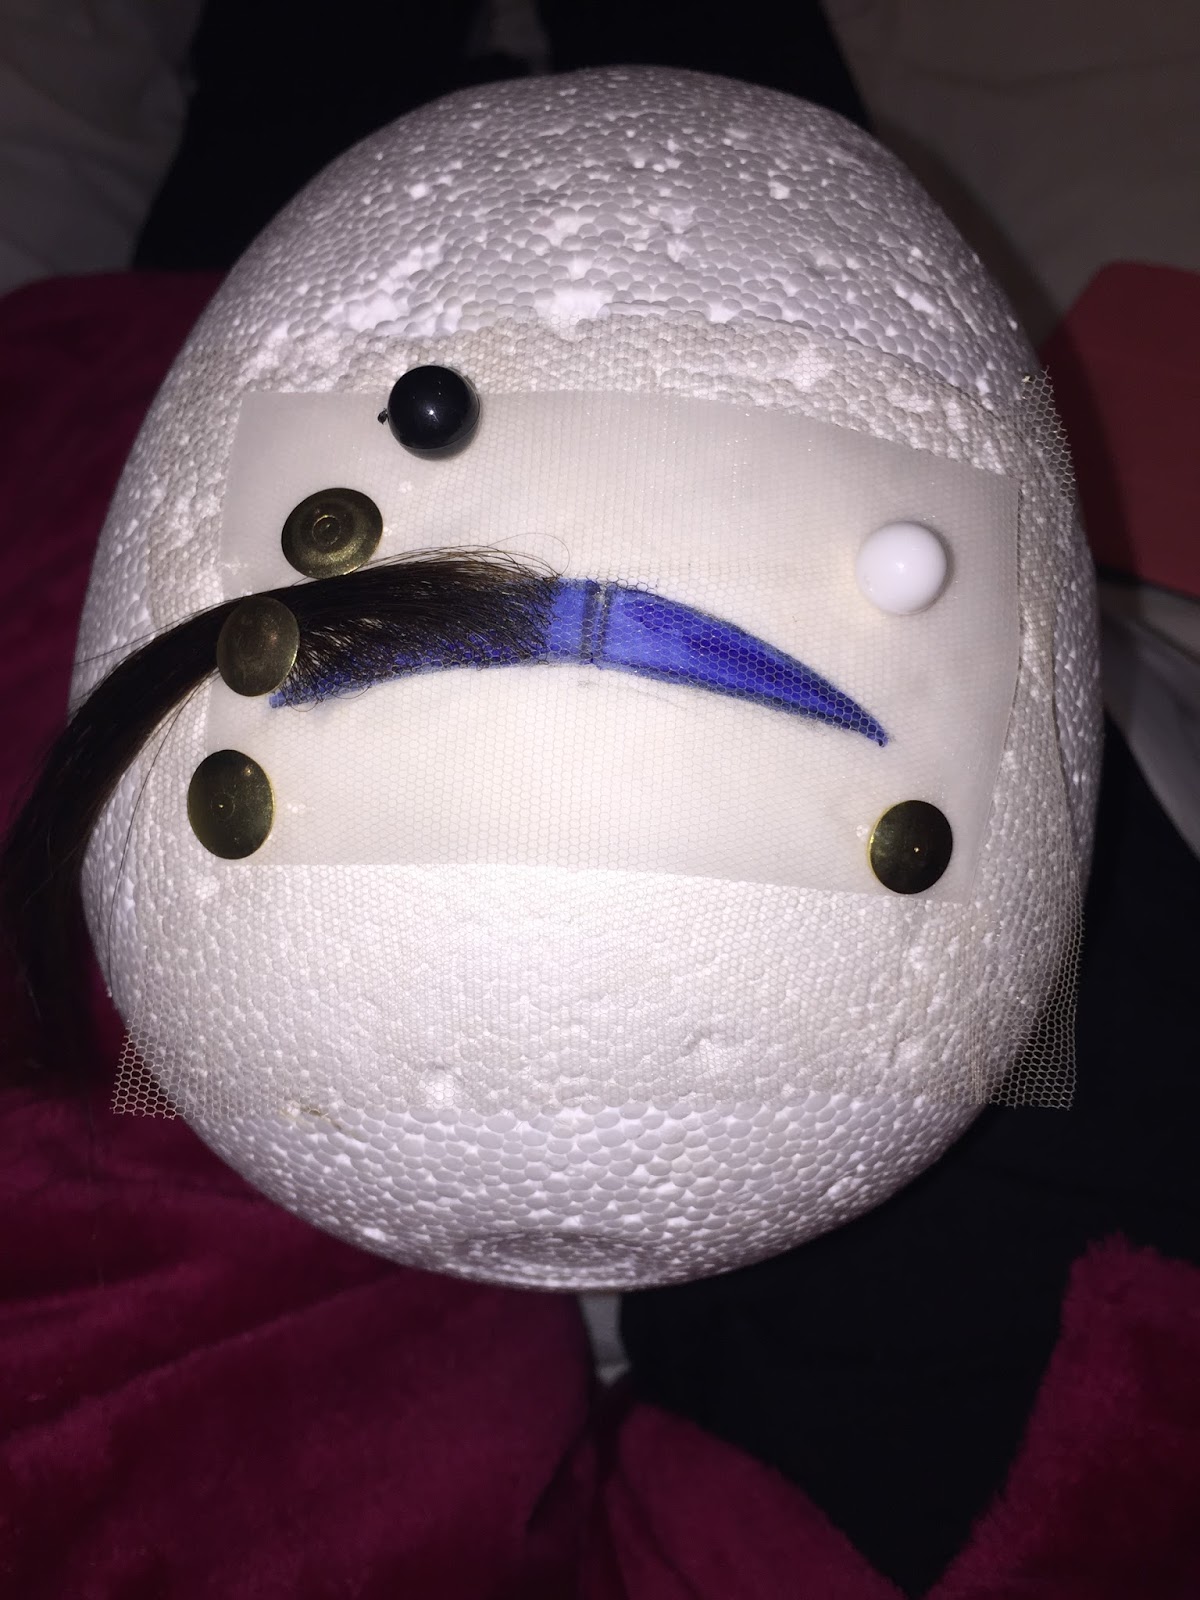
Next on the agenda was knotting a moustache, I'm not going to lie, if you have a really short attention span, just skip reading, this is super difficult, unless you get the hang of it, in which case this can earn you a lot of money!
if you've never heard of knotting, it's basically making wigs / facial hair from scratch, using strands of hair and knotting them onto a piece of lace. For us we we're starting small and just knotting a moustache so still in our pairs we traced a moustache shape onto tracing paper and then placed it underneath a piece of fine lace and attached it to a polyhead (polystyrene head)
Then comes the hard bit, there's a certain way to knot the hair and like I said before if you're not very handsy, this really isn't for you. Luckily for me I picked it up quite easily and ended up finishing mine within a couple of days. Unless you're looking to get into theatre hair & makeup, you don't really need to learn this as a skill however Jane told us that if you're really good at it and end up knotting wigs, people will rent them out for thousands of pounds so if you pick up the skill, get knotting!
I don't have a photo of the finished product but you get the idea.
Day 9
Wig Prep & Application, Character Makeup & Tattoo Application & Concealing with Julia
Not going to lie, this wasn't one of the best days, we all felt it not just me. We just felt that the day wasn't very well planned, nothing was timed correctly and not many people got to fit the wigs, the character makeup wasn't demo'd very well and most of us weren't shown how to conceal or apply tattoos. Anyway, from what we could learn from the demo I created an Egyptian princess look on Rachel!
Day 10
Black Eyes, Cuts & SPFX Bruising with Jane
Another highly anticipated lesson, this lesson was super fun and interesting, its amazing what you can do with makeup.
Started off the day with a freshly beaten up look using the Kryolan Suprcolour Palette, Bruise Gels, Bruise wheels and fake blood.
Next look was the day after, so the bruising would be more blue / yellow and the cuts would me more of a scab than a fresh cut.
We used gelafix to create the look of a swollen eye too.
I think that's enough makeup for 1 blog so i''ll do the next 10 days as a Part 3.
I'm going to leave you with a few photos from our lunch times and a few scenes of the grounds and my walks home.
If you have any questions about the looks I created or DFMA or the tutors names just leave a comment or tweet me!
Love Keeks xx